Customizing the design of your WordPress theme can help make your website truly unique and reflect your personal or brand identity. Whether you want to make simple colour and font changes or more advanced modifications, WordPress makes it easy to customize your theme to your liking.
In this article, we’ll go over the various ways you can customize your WordPress theme’s design, from basic modifications to more advanced techniques. By the end of this tutorial, you’ll have a good understanding of how to make your WordPress theme your own.
Step 1: Choose a Theme
The first step in customizing your WordPress website’s design is to choose a theme. There are literally thousands of themes available, both free and premium, so you have plenty of options to choose from. When selecting a WordPress theme, it’s important to consider the overall aesthetic you want for your site, as well as the specific features and functionality you need.
Some themes are designed specifically for blogging, while others are more geared towards e-commerce or business websites. Make sure to choose a WordPress theme that meets your needs.
Once you’ve selected a theme, install it on your WordPress site by going to Appearance > Themes and clicking the “Add New” button. From here, you can either search for a theme or upload one that you’ve downloaded.
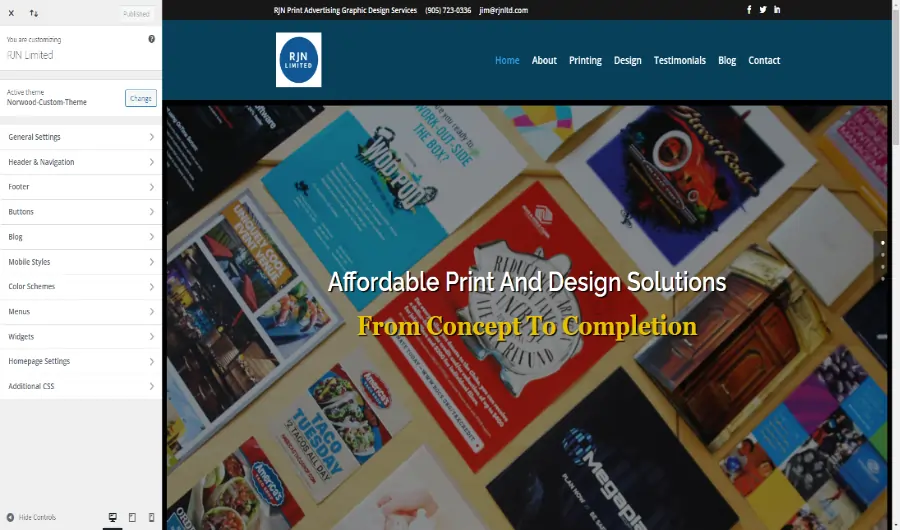
Step 2: Customize the Colour Scheme
One of the easiest ways to give your theme a unique look is to customize the colour scheme. Most themes will allow you to change the colours of various elements, such as links, headings, and buttons.
To customize the colour scheme of your theme, go to Appearance > Customize. From here, you should see a “Colours” option in the menu on the left. Click on this to access the colour customization options.
Depending on your theme, you may have the option to select a predefined colour scheme, or you can create your own by selecting custom colours for various elements. Make sure to preview your changes as you go to see how they look on your live site.
Step 3: Customize the Fonts
In addition to colours, you can also customize the fonts used in your theme. This can help give your site a unique look and feel, and can also improve readability.
To customize the fonts in your theme, go to Appearance > Customize and click on the “Fonts” option in the menu on the left. From here, you should see options for changing the fonts used for various elements, such as headings, body text, and buttons.
Like with colours, you may have the option to select from predefined font combinations, or you can choose custom fonts for each element. Google Fonts is a popular resource for finding new and unique fonts to use on your site. Make sure to preview your changes as you go to see how they look on your live site.
Step 4: Add Custom CSS
If you want to make more advanced customizations to your theme’s design, you can use custom CSS. CSS (Cascading Style Sheets) is a language used to describe the look and formatting of a document written in HTML.
To add custom CSS to your WordPress site, go to Appearance > Customize and click on the “Additional CSS” option in the menu on the left. From here, you can enter your custom CSS code in the text editor.
It’s important to note that any custom CSS you add will only affect the current theme you’re using. If you switch to a different theme, your custom CSS will not be applied.
Step 5: Modify Template Files
If you want to make even more advanced customizations to your theme, you may need to modify template files. Template files control the structure and layout of your website, and by modifying them, you can make significant changes to the appearance of your site.
To modify template files, you’ll need to access your WordPress site’s files via FTP or through your hosting control panel’s file manager. From here, navigate to the “wp-content” folder and then the “themes” folder. Inside the themes folder, you’ll see a folder for each of your installed themes.
Inside the theme folder, you’ll find all the template files for that particular theme. Some common template files include:
- header.php: controls the header of your site, including the logo and main navigation menu
- footer.php: controls the footer of your site, including the copyright notice and any social media icons
- index.php: controls the main structure and layout of your site’s homepage
- single.php: controls the structure and layout of individual blog posts
- page.php: controls the structure and layout of individual pages
- functions.php: controls various functions and features of your site, such as custom post types and custom taxonomies
To make changes to a template file, simply locate the file you want to modify, download a copy to your computer, make your changes using a text editor, and then upload the modified file back to your server. Be sure to create a backup copy of the original file before making any changes, in case you need to revert back to the original.
It’s important to note that any changes you make to template files will only affect the current theme you’re using. If you switch to a different theme, your modifications will not be applied.
Be careful when modifying template files, as even a small mistake can cause your site to break or become inaccessible. If you’re not comfortable making these types of changes, it’s recommended to seek the help of a professional developer.
I am a freelance web designer and developer located in Oshawa, ON. I have been involved in website design since 1998. I specialize in SEO for local businesses, and I am committed to helping my clients outrank their competition.